The ideas here range from a painted mural or color block that takes a weekend and a few sample pots, to wall-mounted planters, floating shelves and layered curtains that need studs or proper anchors.
Your wall’s surface and whatever sits beneath it narrow the choice fast: a sofa or console gives a mirror, clock or oversized canvas something to center over, while a bare stretch with nothing below it suits paint, trim or shelving better.
Center each piece, or the middle of a group, at 57–60 inches off the floor; on a tall wall, art hung higher than that ends up floating away from the room.
1. Mirrors
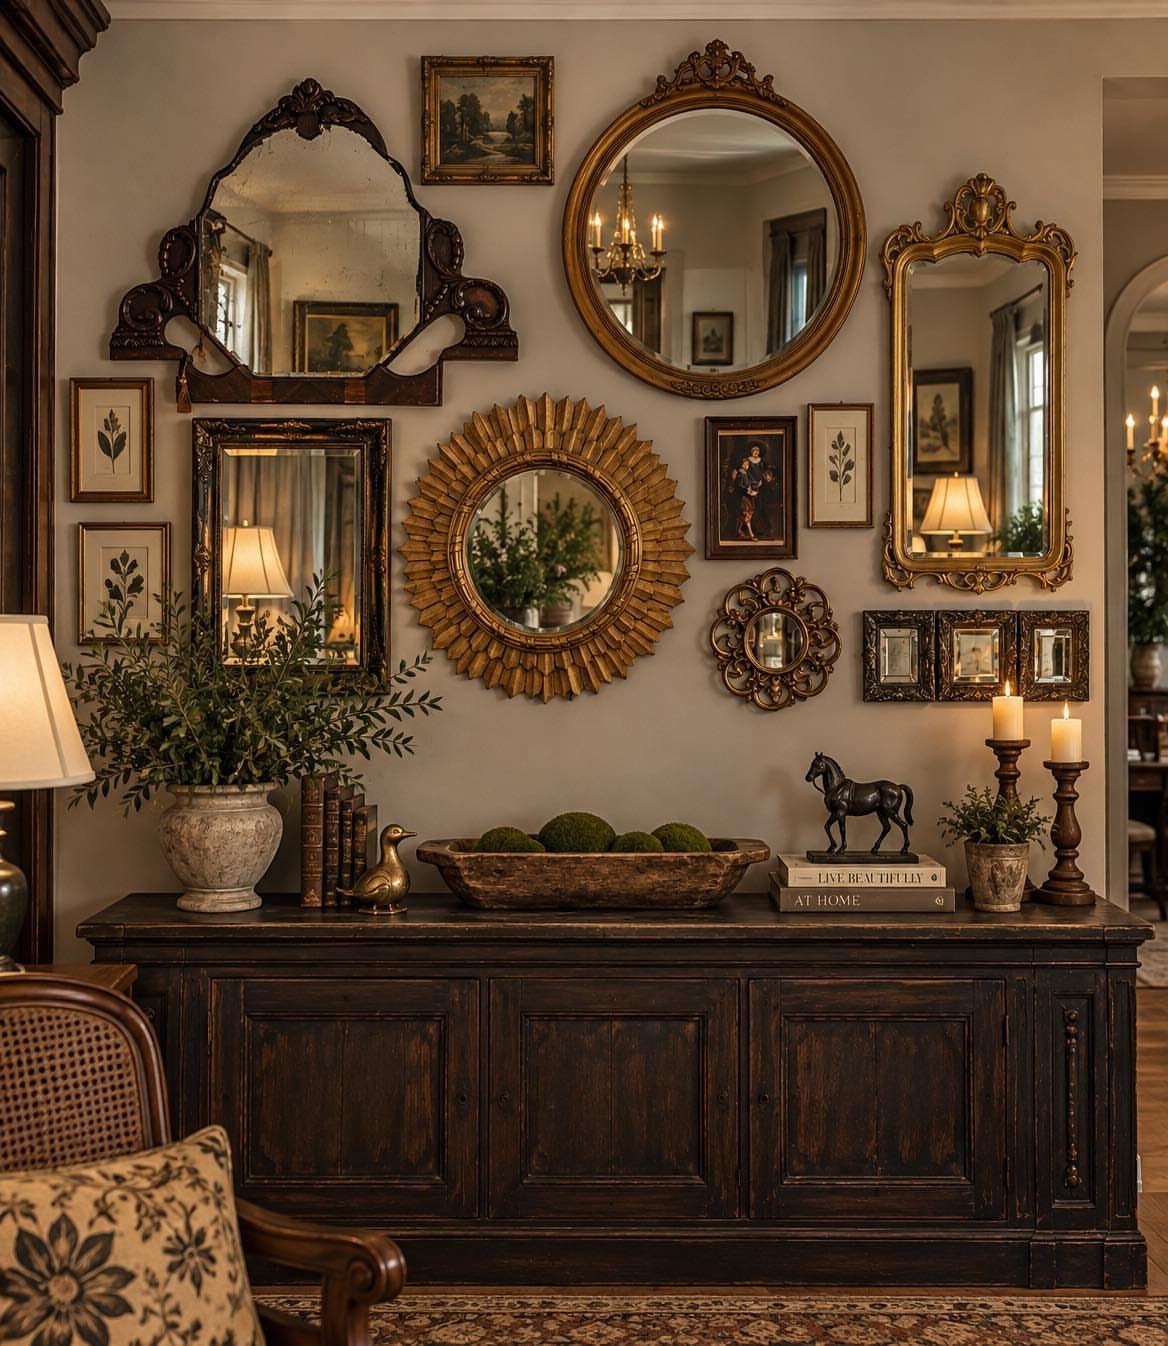
A mirror cluster works best when the frames disagree a little. Gold, dark wood and different shapes keep a big wall from looking like a store display, and the glass bounces light back into the room.
Hang the group over a sideboard or console so it has a base.
I would lay the mirrors on the floor, shuffle them until the gaps look even, then trace each one on paper and tape the paper to the wall before drilling.
Thrift stores are where I’d shop for ornate frames, since mismatched is the goal.
2. Painted Murals
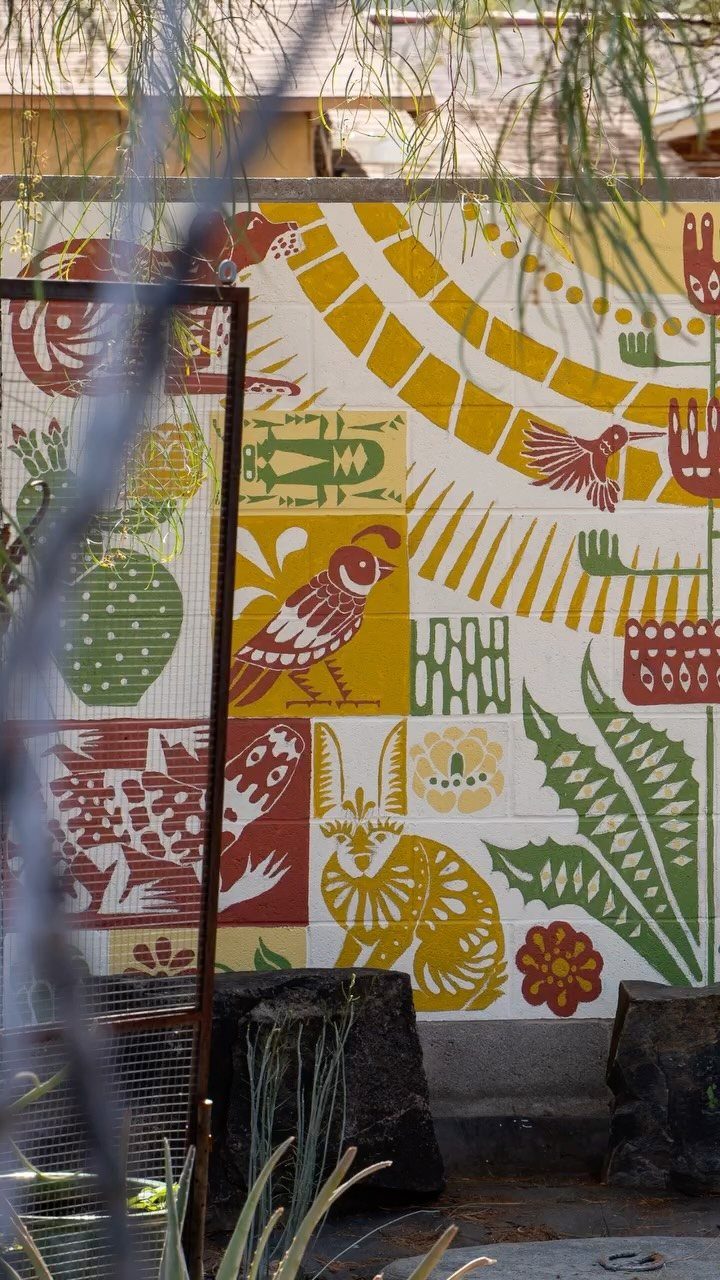
Paint can turn a plain cinder block or white wall into the main event, and a stylized design with a few flat colors is the easiest way in.
Pick a few paint colors and keep the shapes loose, because block texture hides fine detail anyway. Sketch the layout in chalk, fill the big shapes first, then add outlines last.
A mural costs little in materials. It costs time, so plan a full weekend.
3. Large Clocks
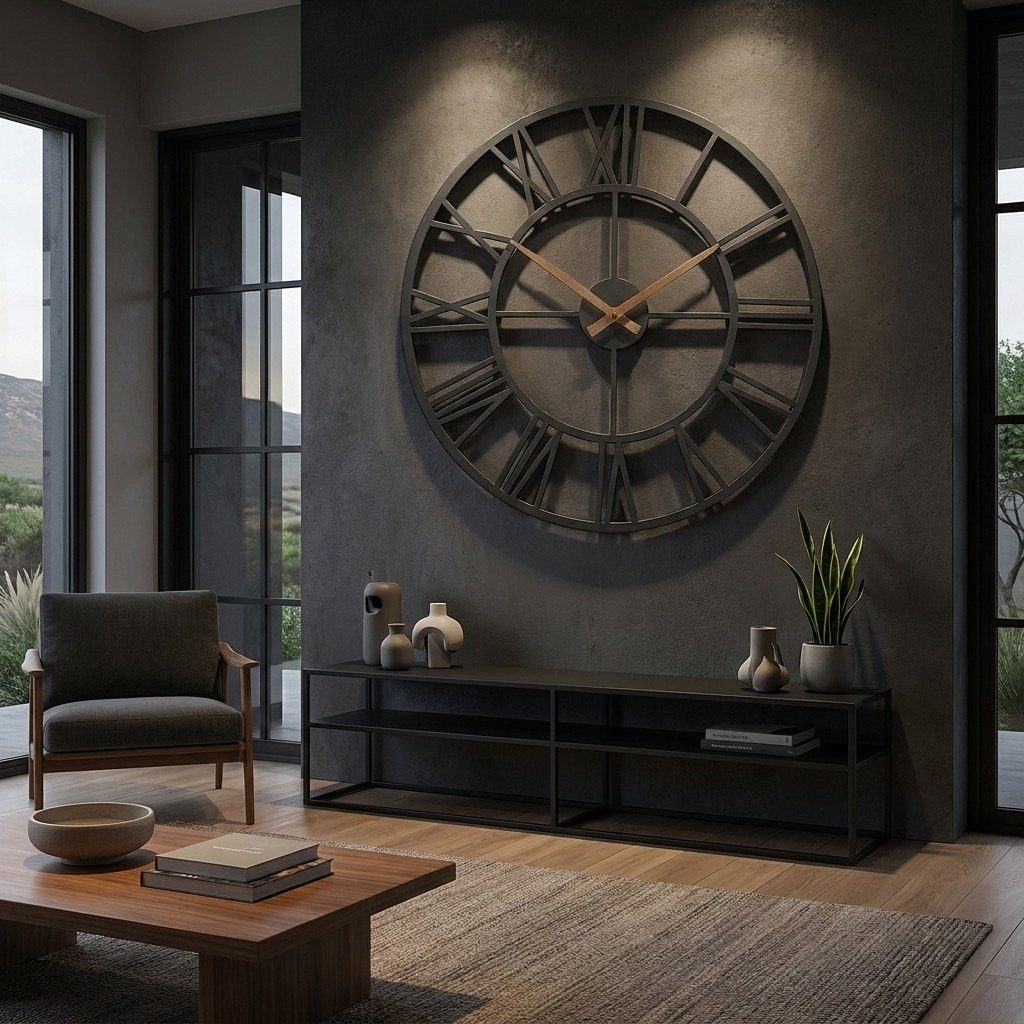
Over a console table, one oversized clock does the job of a piece of art and tells time too.
A black skeletal face with Roman numerals stands out against dark grey paint because the open design lets the wall show through.
Hang it centered over the table, with a few inches of clearance so it feels connected to the furniture. On a dark wall I’d choose black over metallic; the contrast is quieter and more modern.
Check the weight before buying, and anchor it into a stud or with a proper wall anchor.
4. Color Blocks
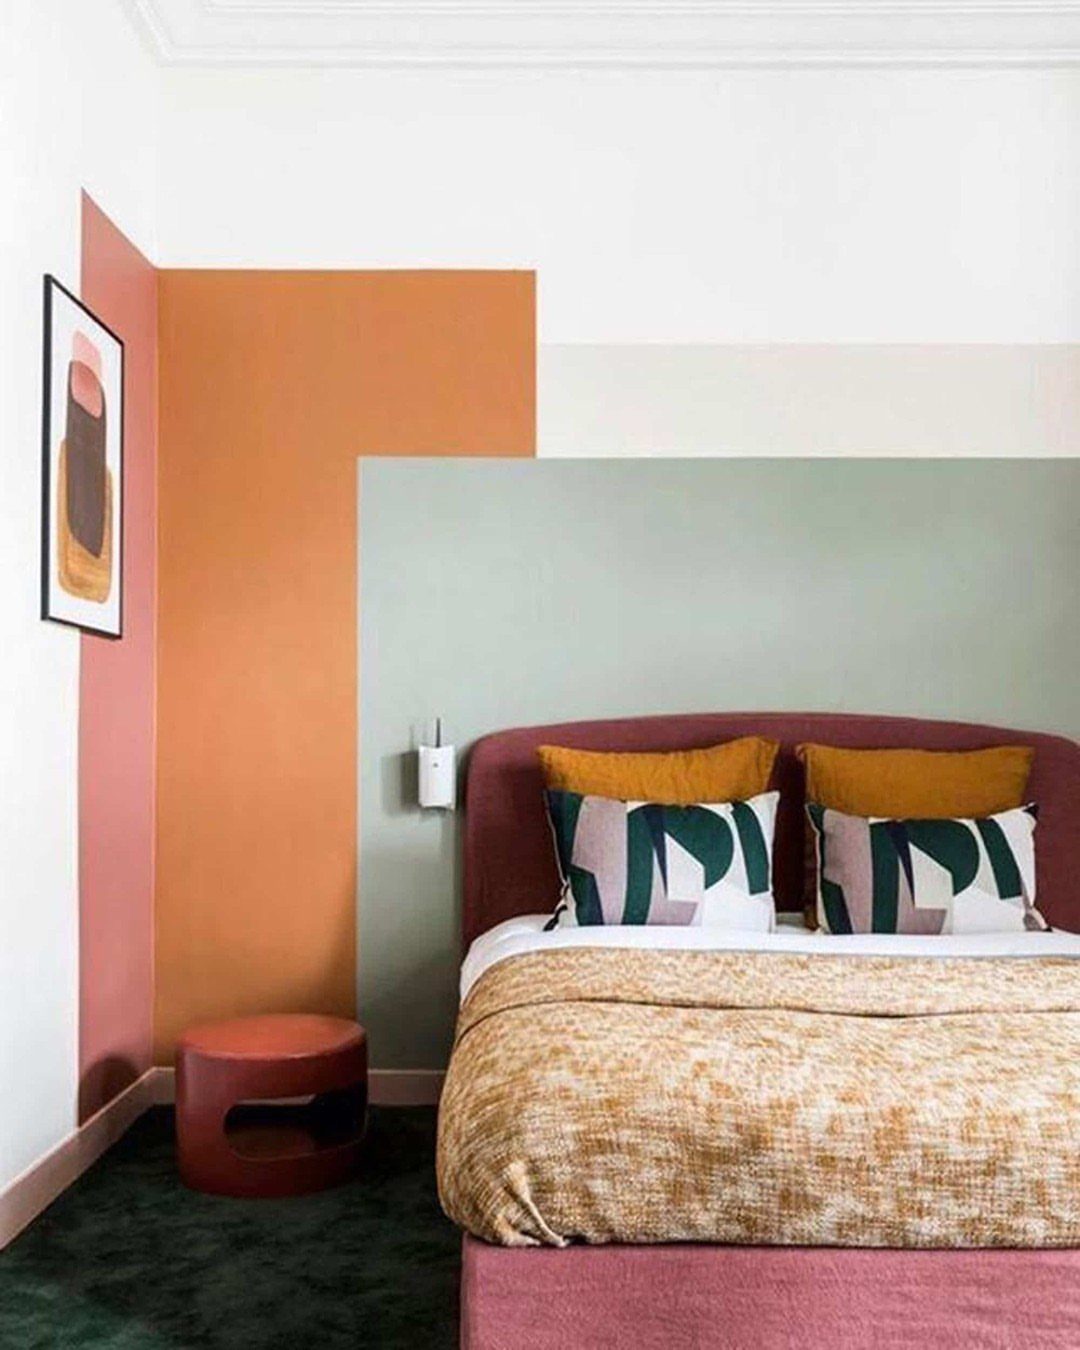
Overlapping blocks in warm and cool tones give a wall a graphic look with nothing to hang. The overlaps are what make it feel designed instead of striped.
Use painter’s tape to mark each shape, press the edges down firmly, and paint the lightest color first. Let each coat dry before taping over it, or the tape will pull paint off.
Sample pots are enough for a section this size, so the cost stays low. I’d keep the palette warm and muted, so it sits well behind patterned bedding.
5. Gallery Walls
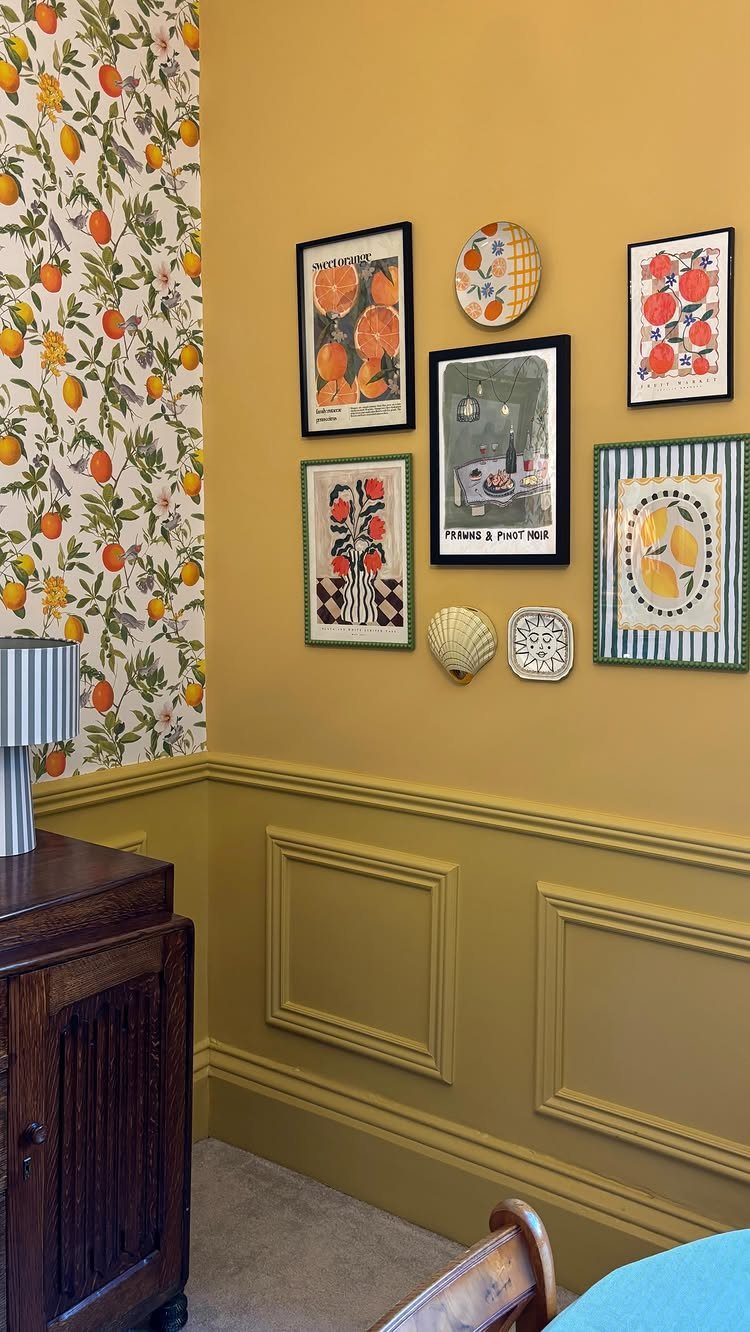
A gallery wall doesn’t need dozens of frames to fill the space. Mixing prints with a few plates adds texture, and a funny quote print gives the group some personality.
Keep one thing consistent so the mix feels deliberate: similar frame colors, or even spacing between pieces. Cut paper templates, tape them up, and adjust before you put a single nail in.
Start at the center and build outward. Prints from your own favorites cost far less than buying original art, and you can swap them any time.
6. Oversized Wall Art
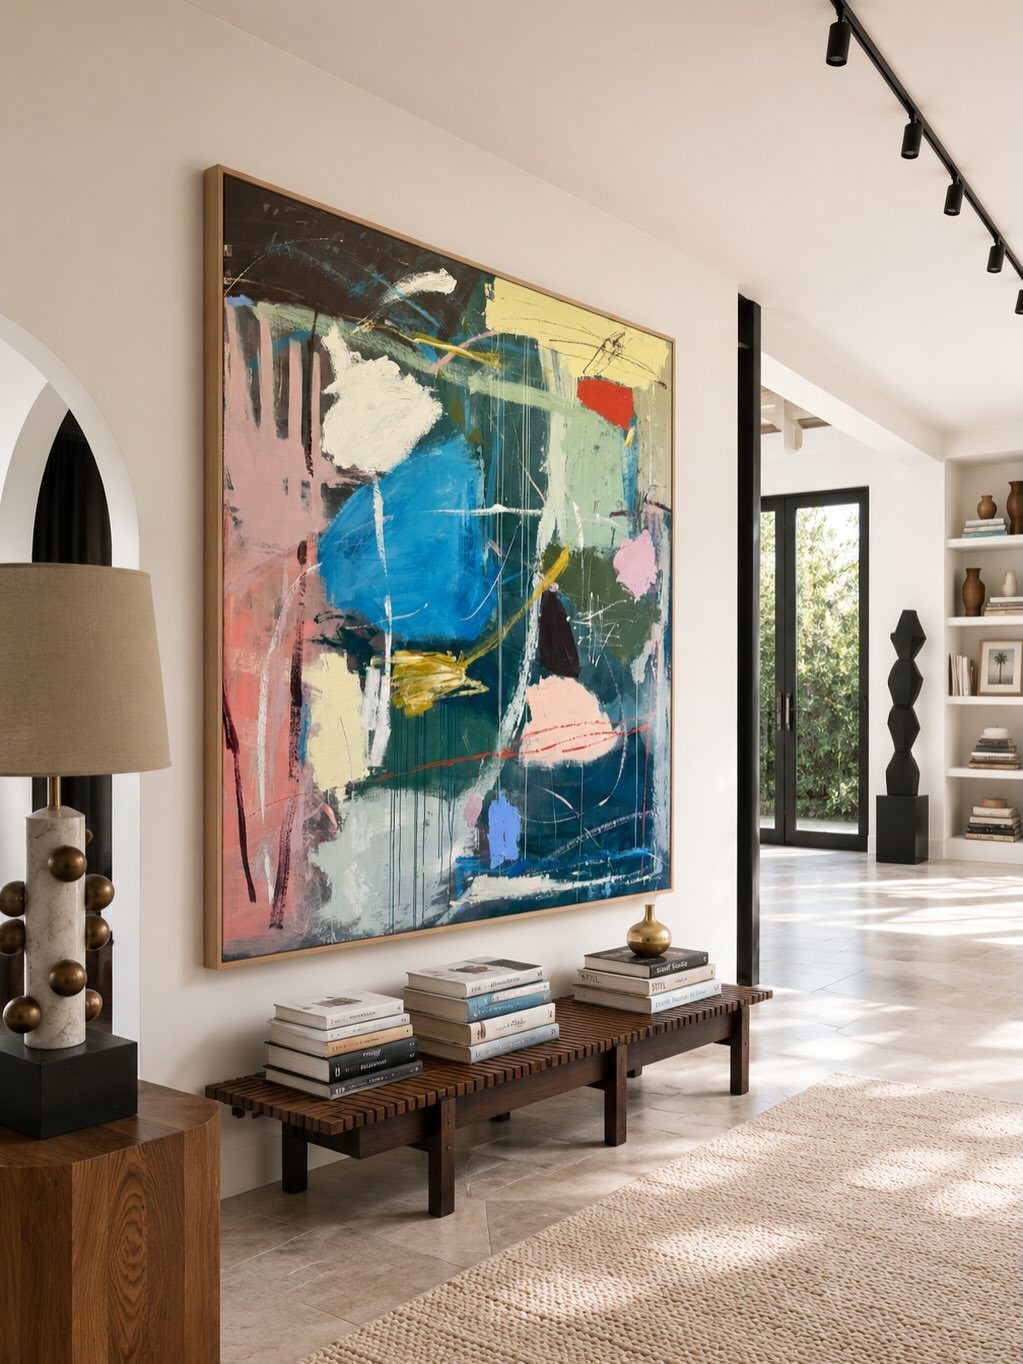
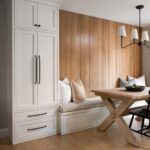
One big abstract canvas does more for a wall than a dozen small things, and it makes the decision simple.
Aim for a piece roughly two-thirds the width of the furniture below it. Hang it with the center around eye level, and leave a hand’s width or so above the bench.
If a large original is too pricey, I’d paint your own on a stretched canvas using leftover wall paint.
7. Floating Shelves
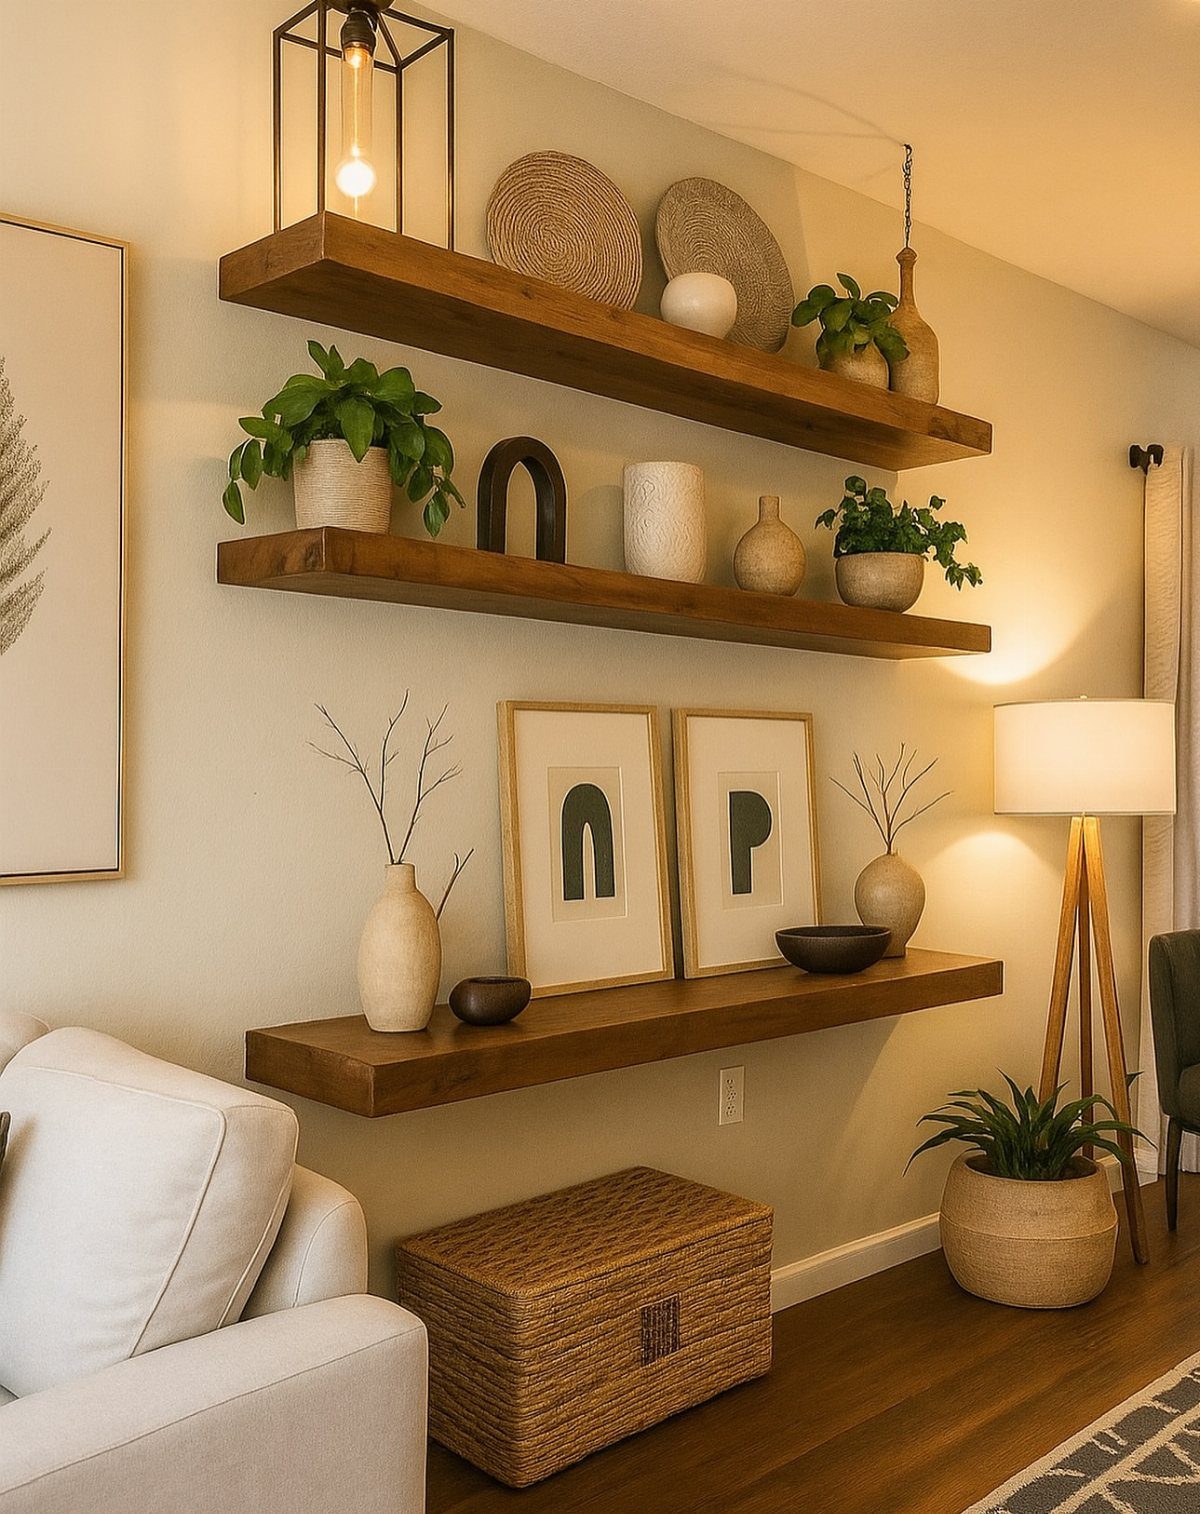
Floating shelves give a bare wall a place for plants, vases and small art to sit at different heights. Wood shelves on a beige wall keep the whole display warm and calm.
Mix tall and short pieces, and let a trailing plant hang over an edge. Leave some empty space on each shelf so it reads as styled, not stocked.
Wood shelves cost less than built-ins and go up in an afternoon. Find the studs, or use proper wall anchors, before loading them with ceramics.
8. Textile Wall Hangings
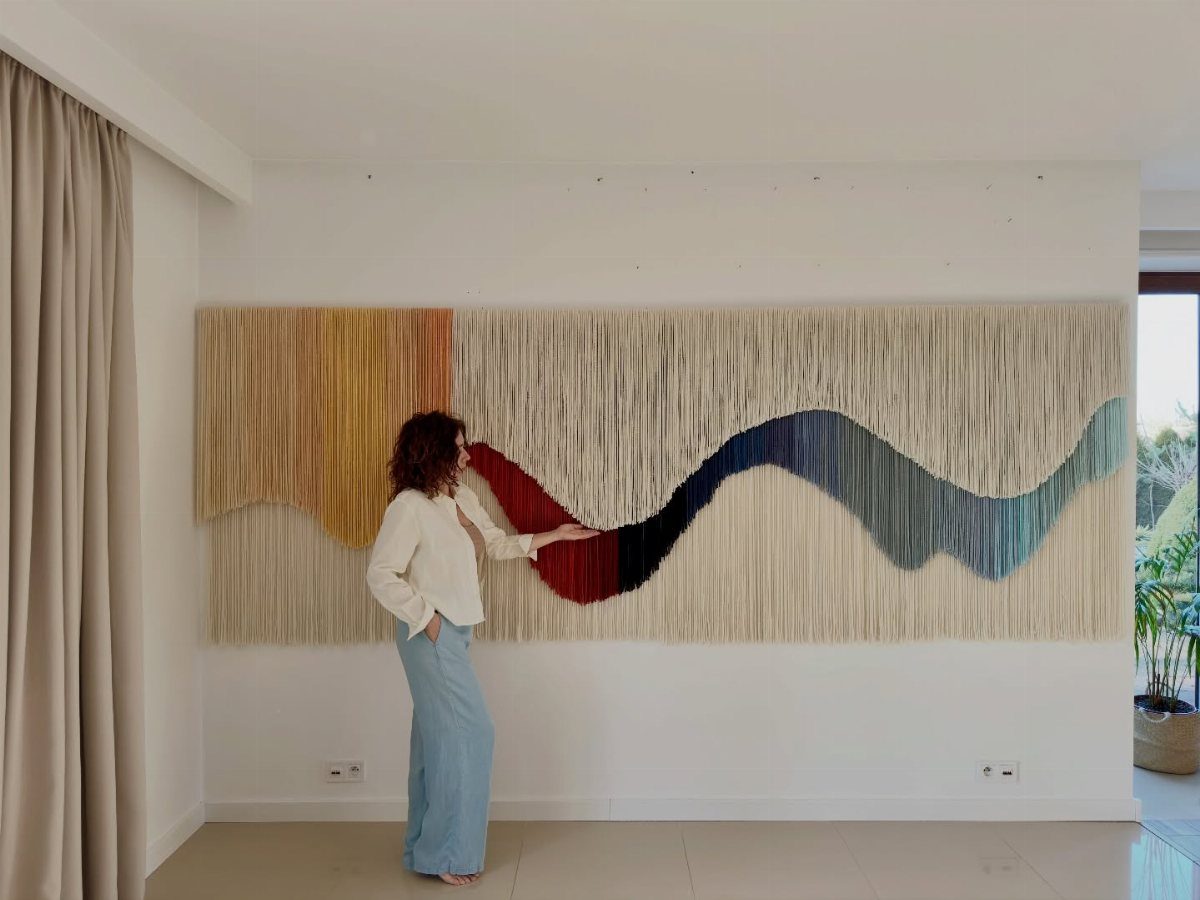
A large textile hanging brings color and softness to a wall, and it works well beside a window with plain beige curtains because the fabric carries all the pattern.
Pick one with a bold palette and let the surrounding room stay quiet.
Hang it from a wooden dowel or a curtain rod so it drapes flat, and size it big enough to fill the wall, since a small one looks lost.
I’d shop vintage fabric and woven throws first; they cost far less than new art.
Sometimes, a bare wall can feel refreshing—especially when a room is filled with bold furniture, printed area rugs, and plenty of objets. But more often than not, a blank wall can appear neglected and, let’s face it, boring.
9. Framed Fabric
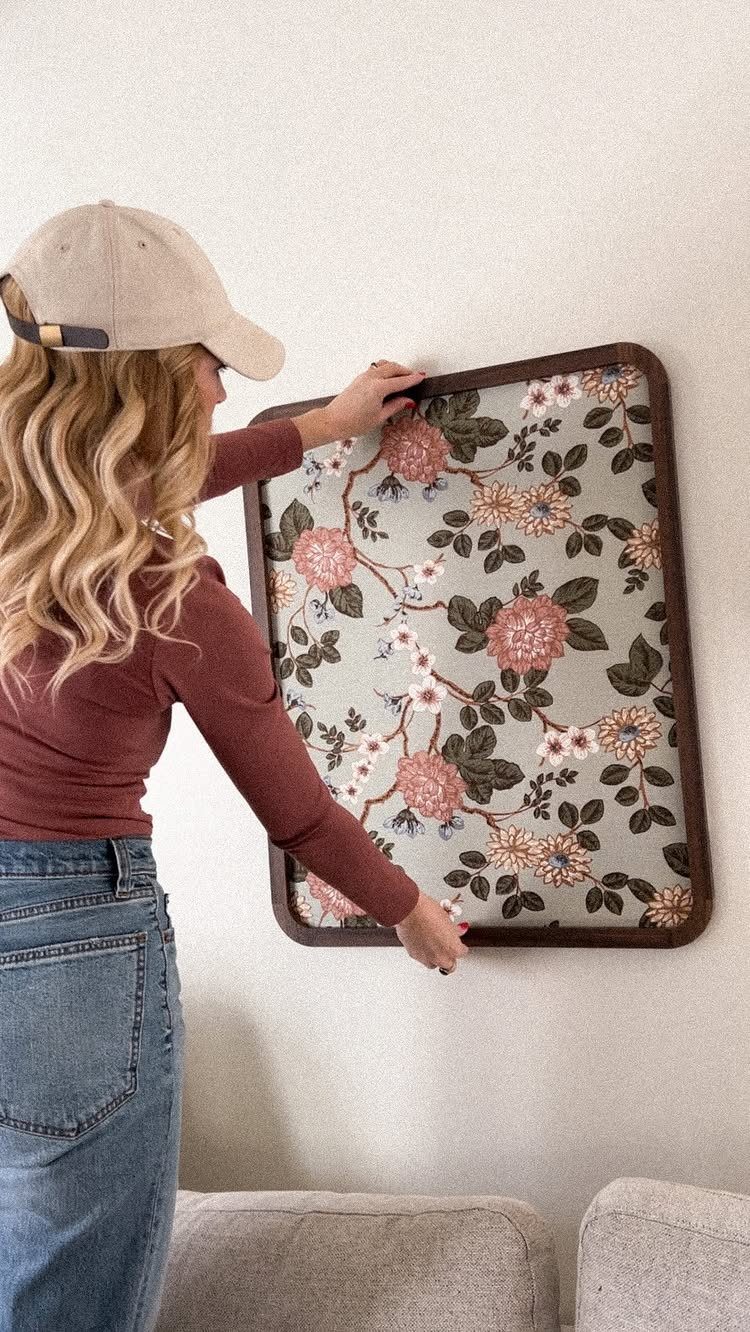
Stretch a favorite floral fabric into a big frame and it passes for art, at a fraction of the price of a print that size. Over a sofa, a dark wood frame gives the soft pattern a firm edge.
Cut the fabric about 1/2" larger than the backing piece, as the maker of this one advises, then pull it snug and secure it to the back. Iron out creases first, because a frame shows every wrinkle.
I’d choose a fabric with a large pattern, since big motifs stay readable even from the far end of a living room.
10. Layered Curtains
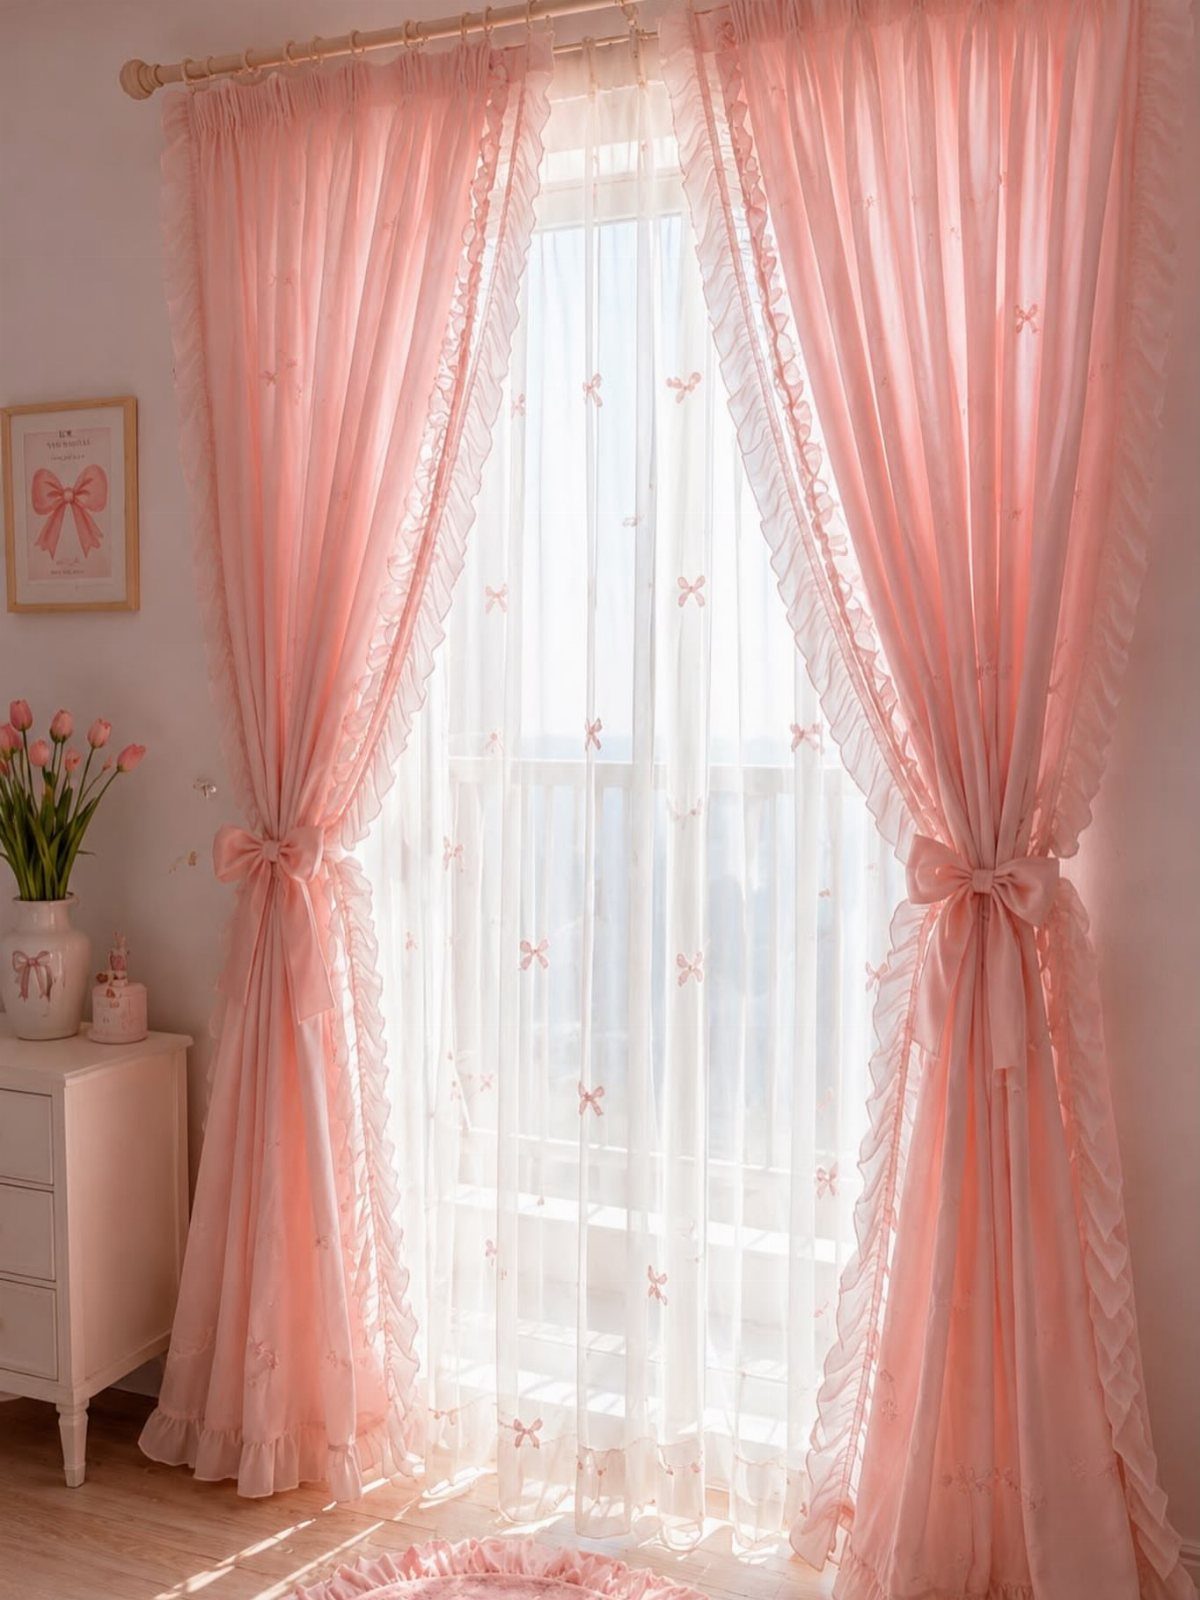
Pink ruffled panels over sheer white curtains give a window wall two layers of texture, one soft and one frilly. The sheer lets daylight through while the top layer adds the personality.
Hang both on a double rod, sheer closest to the glass. Keep the top layer in one strong color and let the sheer stay plain, so the bows and ruffles are the only busy part.
It suits a bright, playful room best; in a calm space I’d choose a flat panel instead.
11. Living Wall with Wall-mounted Planters
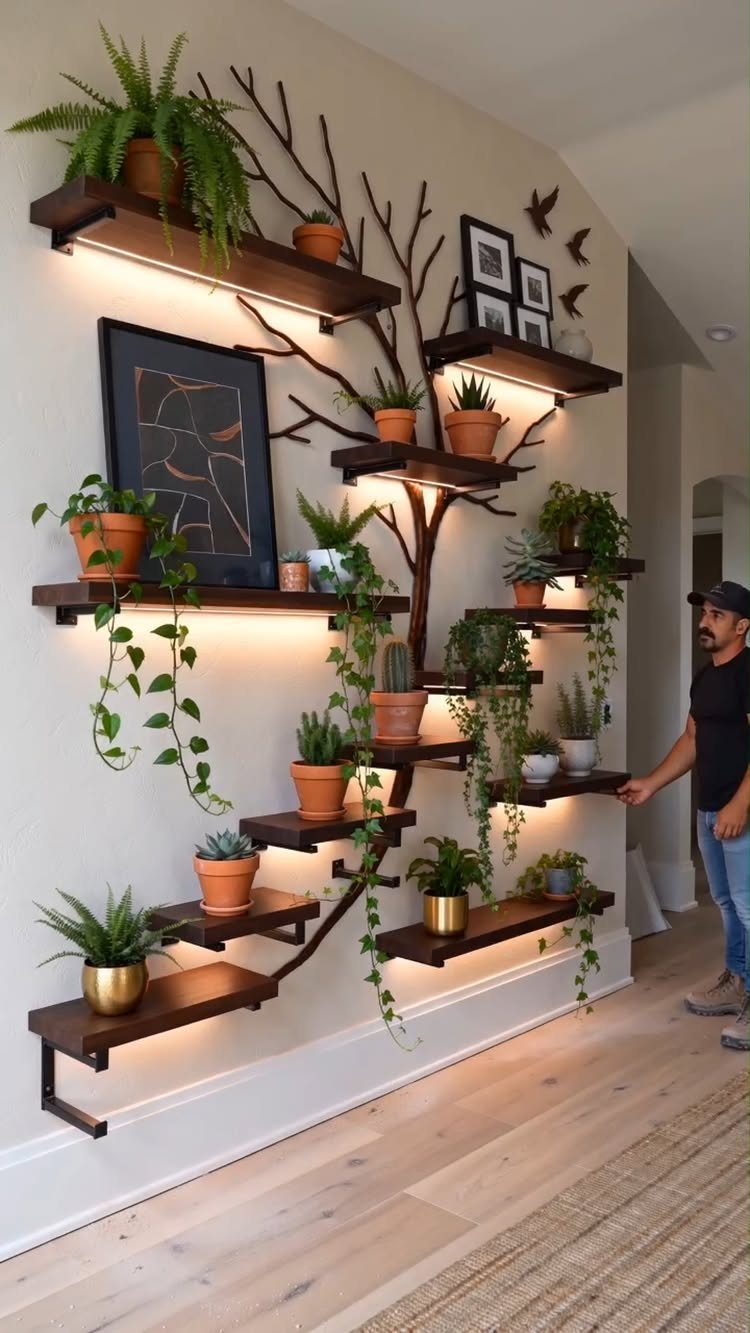
Each pot gets its own perch, and the shelf shape does the decorating before a single leaf is placed.
Under-lighting along the shelves makes the greens glow in the evening, and it adds a reason to look at the wall after dark. Mix trailing and upright plants so the lines vary.
Check the weight of wet soil and pots before mounting, and anchor into studs. Light pots cost less to hang and are easier to move.
12. Decorative Plates
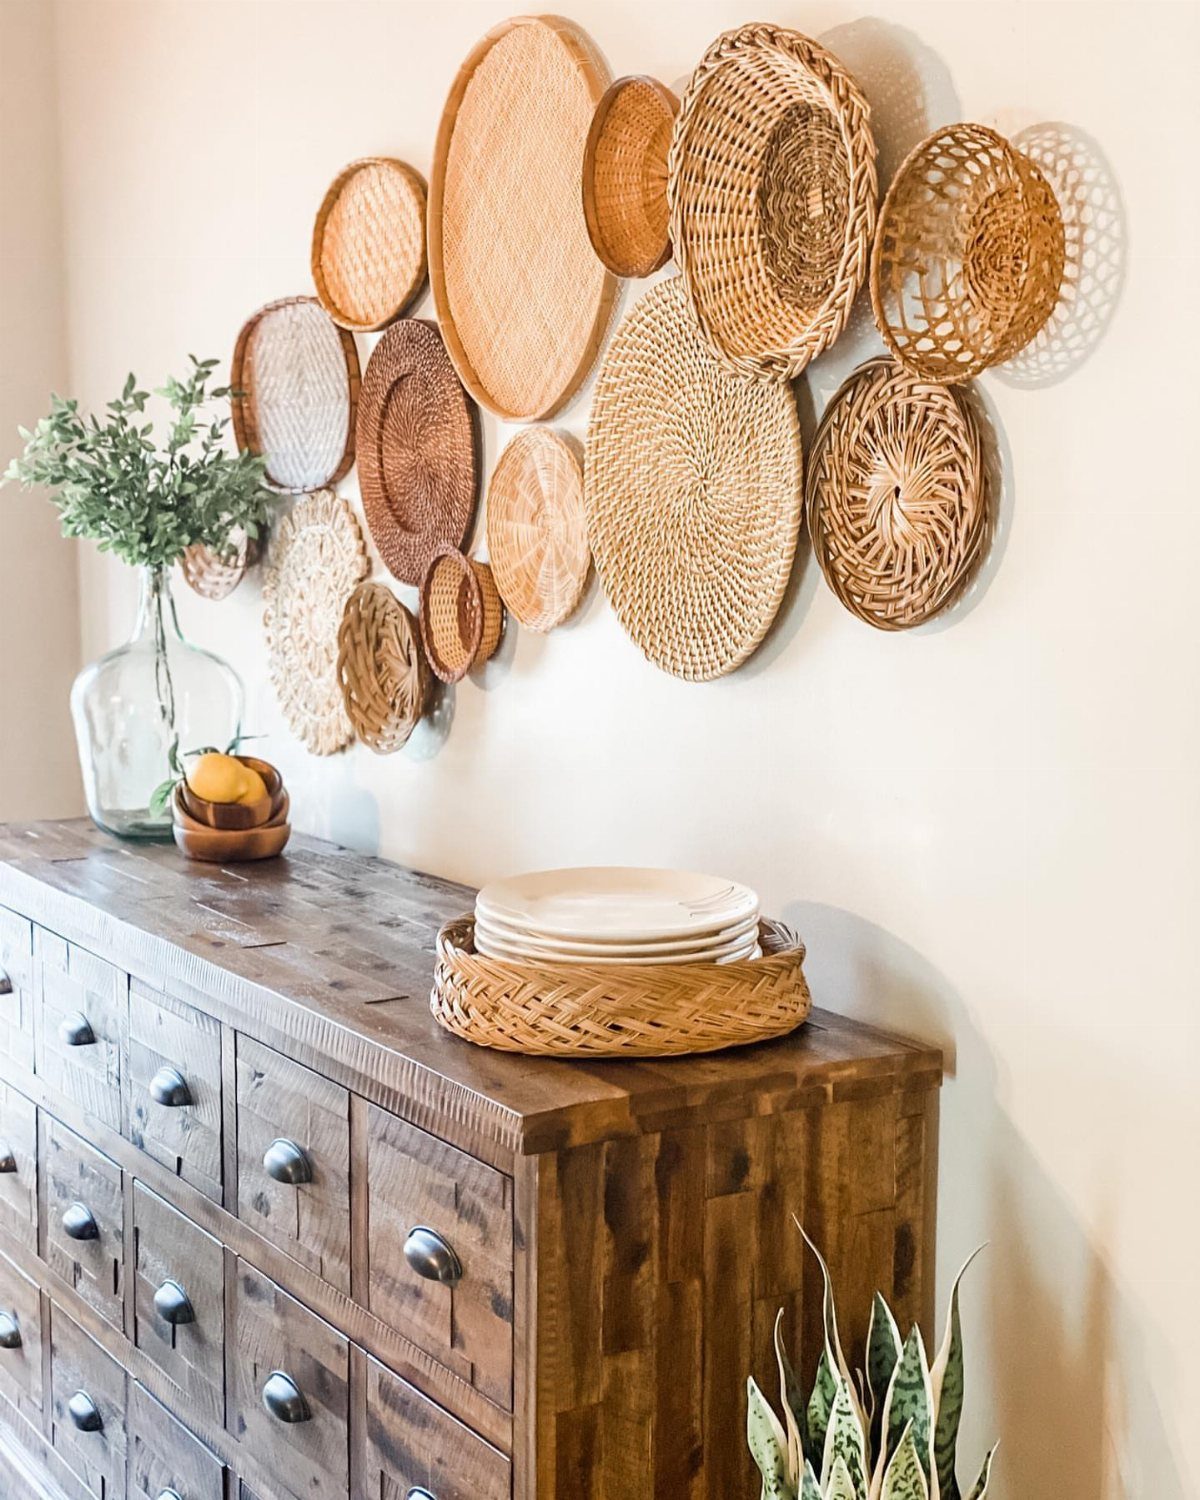
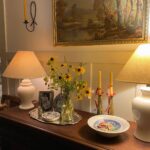
Woven baskets and plates hung together make a wall display that needs no frames. Over a wooden dresser, the natural tones and round shapes match the wood below.
Before any nails go in, spread the plates on a rug or bare boards, group them by size, and keep the largest near the middle.
Use plate hangers for ceramics, and for baskets a small nail or hook through the weave works.
Thrift stores and flea markets are where I’d look; baskets cost very little, and odd sizes make the cluster better.
13. Wainscoting or Trim
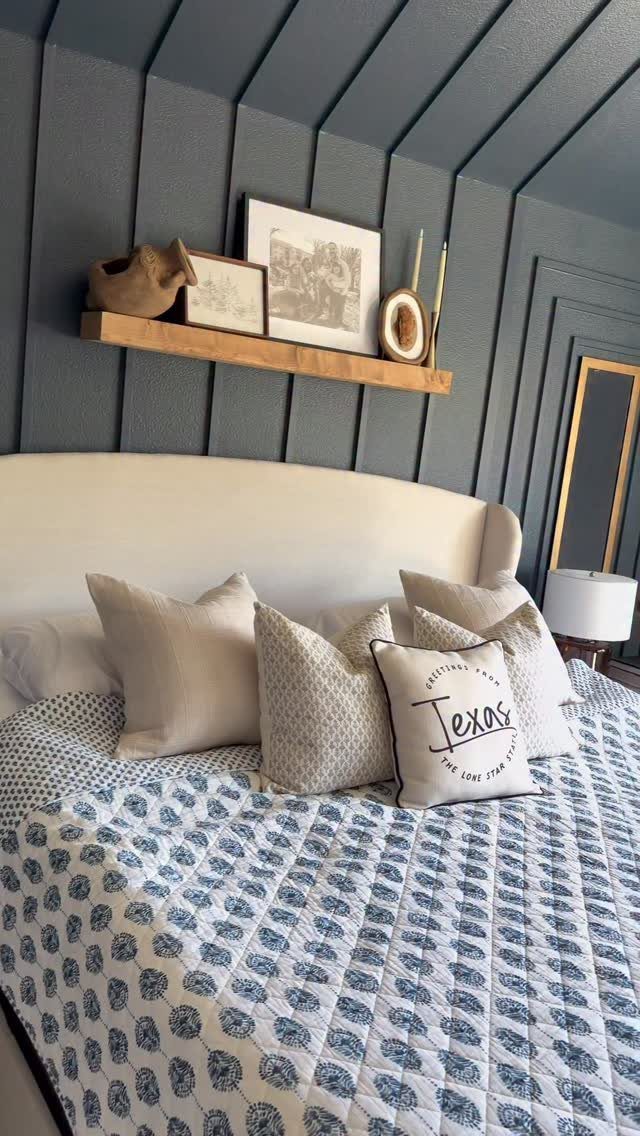
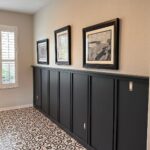
Vertical trim turns a plain wall into something that looks built-in, and dark blue paint makes the lines read clearly. Painting the trim the same shade as the wall keeps the effect calm and lets the shadows do the work.
Mark the spacing with a level and painter’s tape before you glue or nail anything. Even gaps matter more than the exact number of strips, so measure the wall and divide it first.
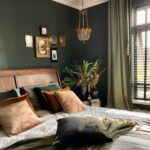
Behind a bed, the trim gives the headboard a backdrop with some depth.
A single wood shelf mounted above the bed, set a few inches over the top rail or trim line, gives the paneling a horizontal line to play against and a place for a small frame or two.
I’d paint everything before it goes up, then touch up the seams.
Hanging Height Advice
The standard rule of hanging artwork with its center about 57 to 60 inches from the floor applies to a single piece or to the middle of a grouping, so measure to the center, not the top edge.
On a big wall, hanging art too high is the mistake I see most often. Art floating near the ceiling feels disconnected from everything in the room.
Over furniture, leave 8–10 inches between the tabletop and the bottom of the art. That gap ties the two together without crowding the piece.
Mark the center height on the wall with a pencil or a strip of tape before you pick up a hammer.
Color Considerations
Match your art to the room by harmony, not by copying. A perfect match tends to look flat, so pull one or two tones from the room and let the rest differ.
Warm tones like terracotta and gold make a space cozy. Cooler shades like blue and sage green feel calmer and more open.
Let the room decide how loud the art gets. In a sparse room, a bold color can carry the wall; in a busy one, I’d choose a quieter neutral piece so the eye gets a place to land.
In a bedroom, I’d stay with blues, soft greens and neutrals. Look at the wall in morning and evening light before committing, since paint, flooring and furniture all shift how a piece reads.
Lighting for Large Walls
A big wall goes dark after sunset unless something lights it. Picture lights, sconces or a spot of accent lighting keep the art visible at night, and a picture light adds a bit of architectural interest too.
For a wall with texture, light that washes up or down throws shadows across the surface and gives it depth.
A lamp placed in the corner next to the wall can fill the space beside a large piece, so nothing else needs to go up there.
Hang a mirror opposite a window and it catches daylight and throws it back across the room, which makes the space read brighter and larger.
If you add a clock, pick one at least 2 feet wide, since smaller ones get lost on a large wall.
Frequently Asked Questions
How do you decorate a large blank wall?
Start with one oversized piece of art, a cluster of mirrors, or a gallery wall, since all three fill a big surface fast.
If you want nothing to hang, a painted mural or overlapping color blocks done with painter’s tape cost very little. Pick based on the room: a mirror group works over a console, and one big canvas suits a quiet space.
What size art works on a big wall?
I size wall art to about two-thirds the width of whatever sits below it.
Over a console or sofa, that keeps the piece tied to the base instead of floating. Several smaller pieces can count as one if they are hung close together as a single group.
Is one large piece better than a gallery wall?
Neither wins every time. One large piece makes the decision simple and gives a clear focal point, which suits a sparse or already busy room.
A gallery wall adds personality and lets you swap prints, but it needs more planning, so I’d cut paper templates and tape them up before any nails go in.